these next two build logs tie together, a juggling act of the new developments that came to be. I will split them up into two logs for you, but I won't be able to keep you from seeing any of the progress that happened thereafter. after I had finished log #24, and the revelation about the ball came to light, I settled back to look at build logs on Model Ship World. the repairs were almost complete.....my intentions were to do the rest of them the next day. while I was reading, I started to play around with the ball, fitting it together and thinking I needed some filler to complete the sphere. I had one of the eye bolts....laying it in the fold, it was long enough to protrude out the other end......perfect! I had a piece of light balsa 5"X2"X3/16ths handy and stripped it out in varying thicknesses. then I cut one into pieces the length of the ball frame. after gluing the frames together and laying the eye bolt into place, I started to fill in the voids.
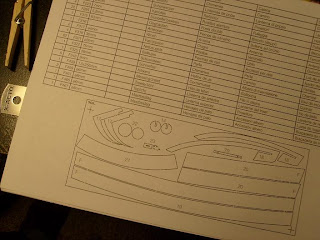
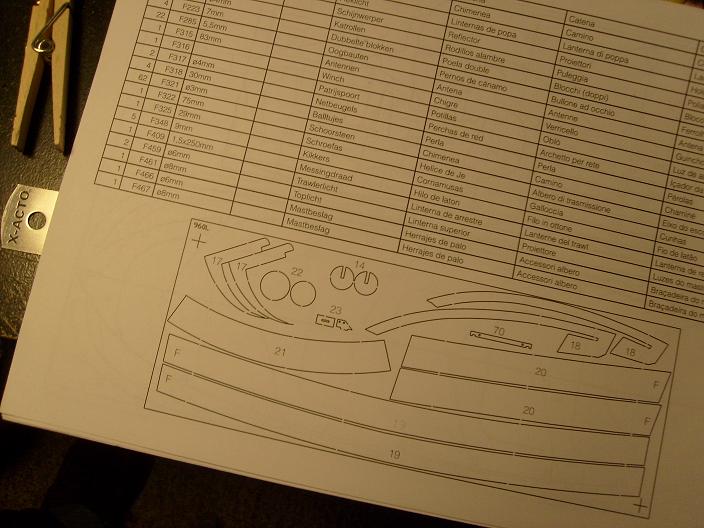
The parts list show these pieces as #14.....the other round pieces are for the shrimp cooker.


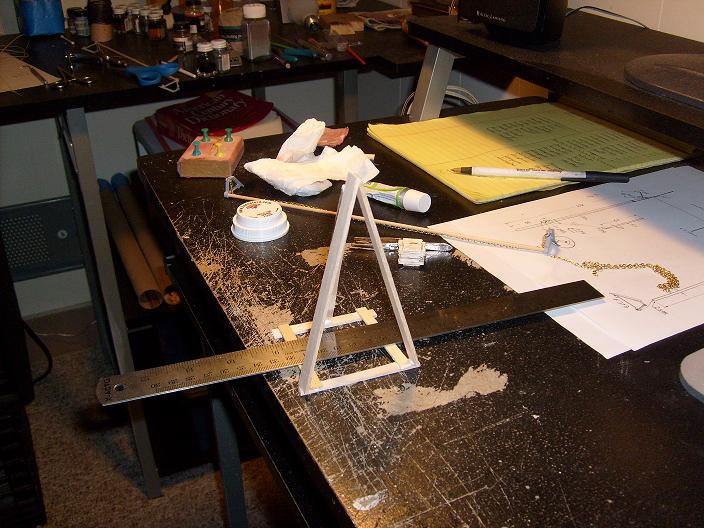
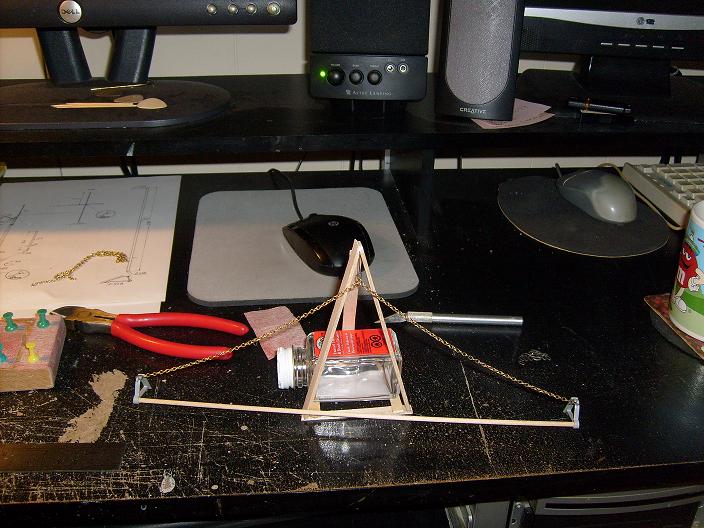
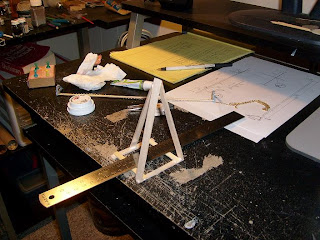
Looking at it after I did this, I felt that the eye bolt would just get in the way, so I waited for it to dry a little while and took it out. perhaps I will find the hole......maybe not, I'll just drill one in there. it was a bit off center anyway. while this was being assembled, I was thinking of the net bars, and how they would be assembled. a lot of chain was to be used and the thought of trying to keep them sprawled out on the desk while I worked on them didn't enthuse me. I needed something to hang them on....I had already attached the long section of chain to them. the rest of the stripped balsa was nearby. taking two of those, I beveled the ends and made a triangle. another piece was glued at an angle in the back as a support and other pieces made up the base. I made sure that I left enough room inside to add a weighted object to prevent it from tipping over......add a hook and here you have it.......a rack!

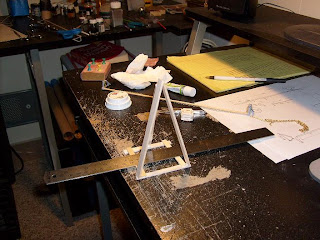
The ball was surely dry by now.....if not, too bad! I started to sand it to shape, taking out the corners first. once they were gone, it became harder to hold....it kept wanting to roll around in my fingers......but I kept it up until the orb started to appear.
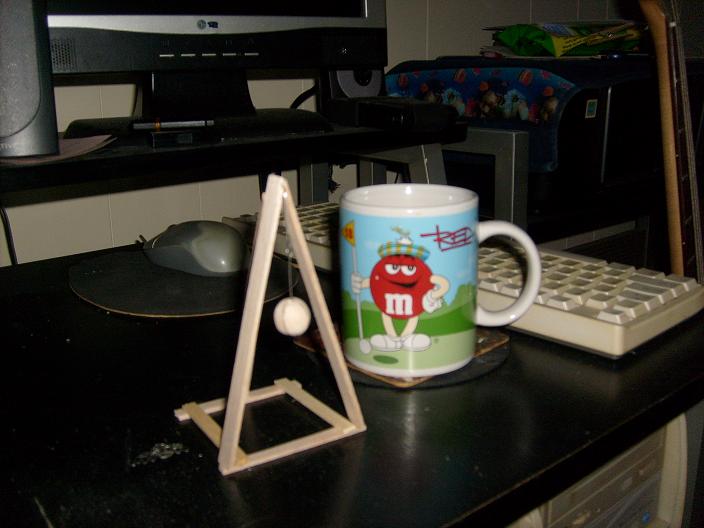
I was able to find the hole left by the eye bolt. inserting it in, I was able to amuse myself.....
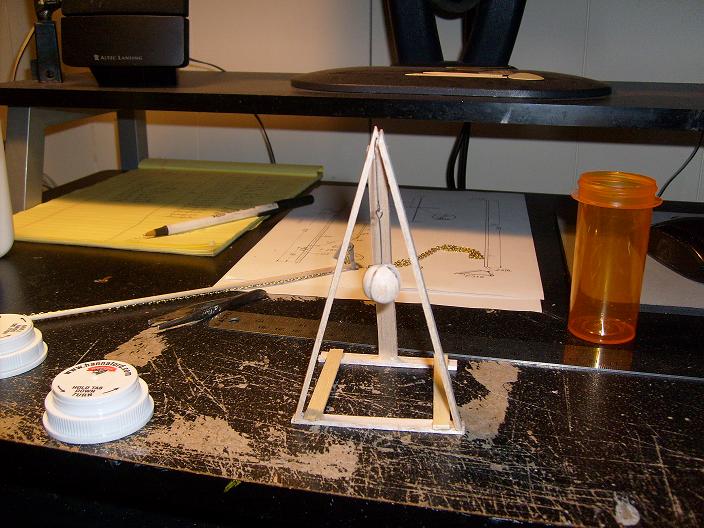
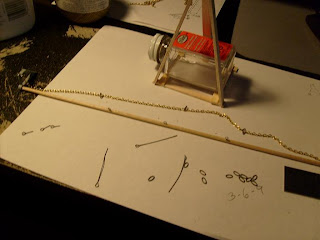
Kind of looks like a metronome, doesn't it! with this bit of comedy over with, I decided to go to bed, it was 3am. the morning of the 25th brought a little more humor with this little ditty!
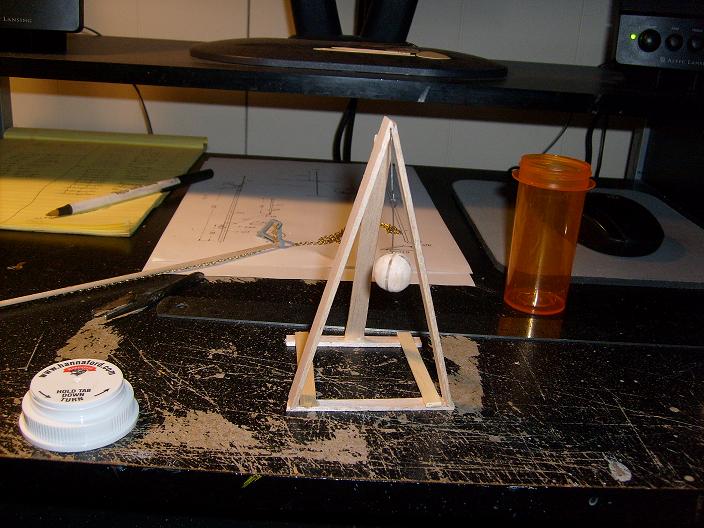
Time to try out the rack and see how it works. it works like a charm!
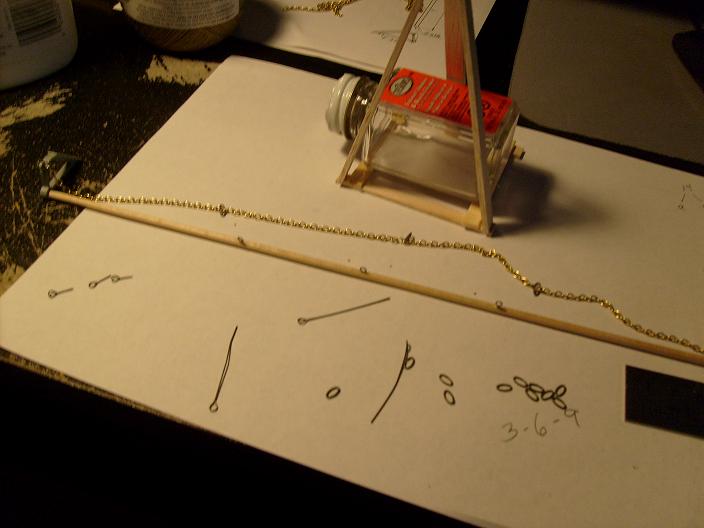
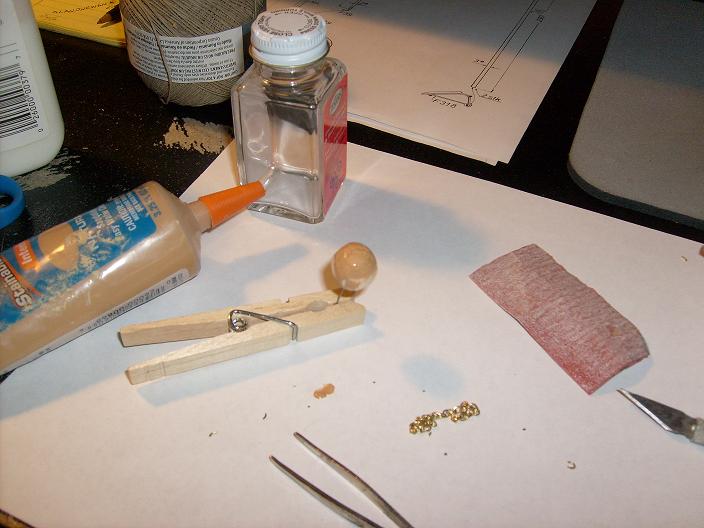
these are the eye bolts and the chain links, bought at the craft store I visited. I already put a few of the links on the chain, measuring the positions where the shorter chain pieces should go. I later decided to go with metric however, because it was a little more exact. the overall length is 290mm......inside measurement is 280mm {with a fraction}. with the odd numbers I simply moved the ruler to account for it and arrived at 140mm for the center, and 90mm from each end for the outer chains. I cut six of the eye bolts down to a 1/4 inch stem and bent 1/8 of it over to resist pull-outs. then I drilled the three holes I would need for the eye bolts.


Bother! now where did it get off to? I had lost one of the eye bolts for the other bar! Fearing that I had knocked it onto the floor, I got down and started to look for it. Gibbs thought this was cool.....Dad came down on the floor to play with me.....and proceeded to get in my way. I should have named him Gilligan, because I always call him "my lil' buddy"....I just shifted him around while I looked. not having any luck, I got my small mechanic's magnet and began sweeping the floor with it, further heightening Gibb's enjoyment!
Then I recalled that he was lying under my chair at the time, so I began sweeping it through his fur as well, just in case it fell on him. my wife thought this was funny and started to laugh. the search was beginning to show it's futility, so I gave up and cut another one and proceeded to assemble the second one.
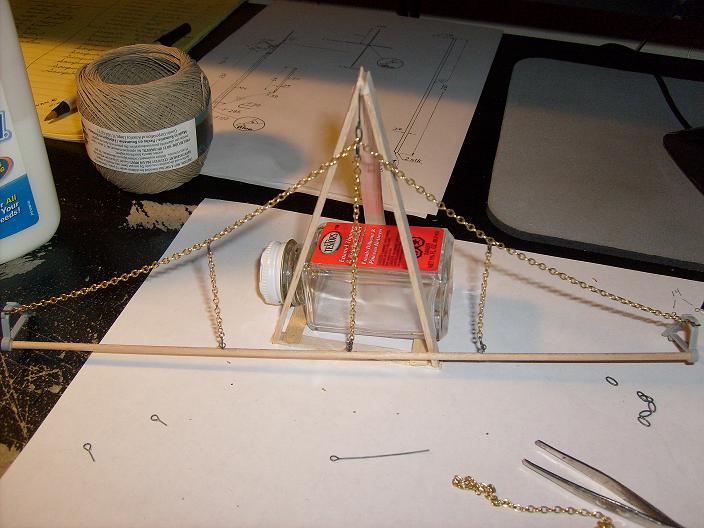
Here they are in various hues of lighting.....the rack did it's job splendidly! with this done, I went back to the ball, drilling the hole and inserting the eye bolt, bending the eyelet on the other end. it was then painted black as directed ans seizing thread on one end of the ball. the end result is the ball installed on the Cux.
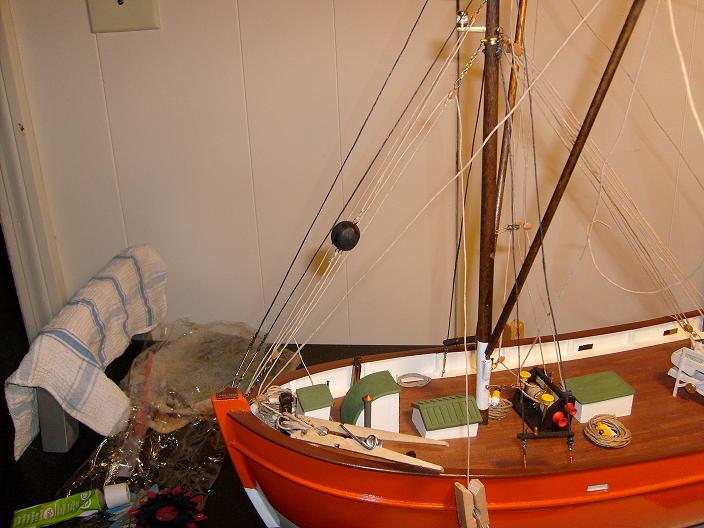
This last picture is a spoiler......the bow rigging is almost complete, and you can see what I've done with the buoys and rope coils that I had made. the next build log will show this and more in greater detail. the one thing that I wanted to do....but never did....was to replace the back stay / shroud lines. I will get to them though......I like the way I changed the seizing, and it looks so much better! AHOY!
footnote: I did find that lost eye bolt.....it was off the paper and onto the desk.....black on black made it quite invisible! I'm glad I found it.......Gibbs doesn't need to get a hold of this! LOL!